
There is a place in Phoenix called the Fabric Depot (it's in Cave Creek) and they have what looks like the best price and selection of leather hides in the Valley. Half hides are usually about $60, which is just about as cheap as my leather place in Brooklyn! Yay!
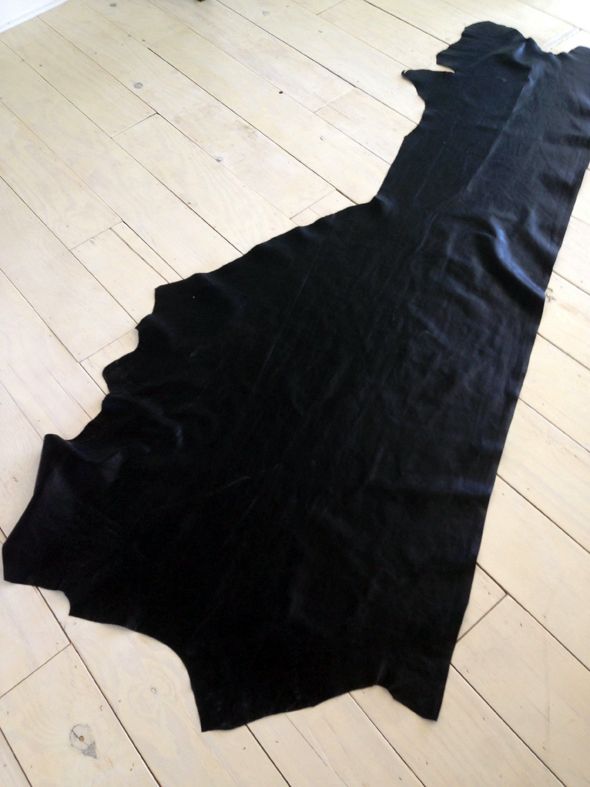
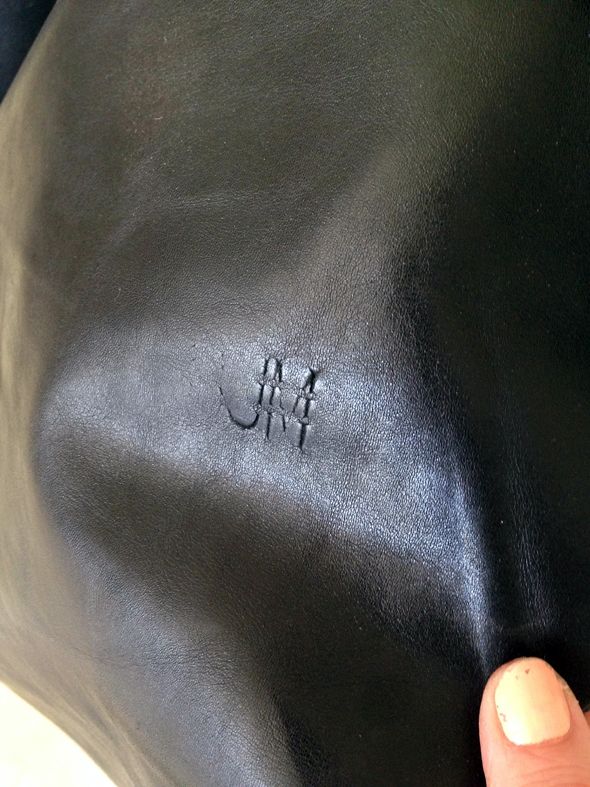
I picked up this black half hide there and when I got it home I saw this little brand or something with JM initials. Meant to be ours. ;)
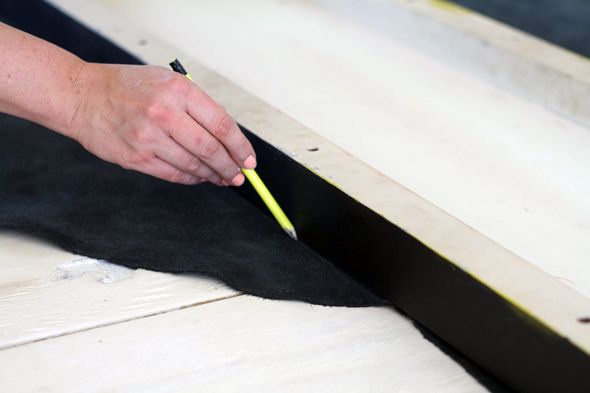
The first step is to make a pattern of all the sides of your console table by flipping the hide over and tracing each piece out. (PS the old IKEA Malm console table would work really well for this project or the current Lack sofa tables seem like they could work well also.) Oh, and I spray painted the table black first in case there were any little gaps between the leather pieces in the end, hopefully they would be less noticeable.

I cut out the pieces and then used Fabritac to secure each of the pieces to the table.
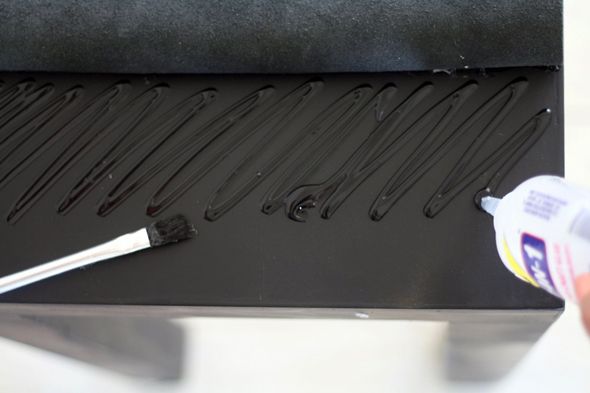
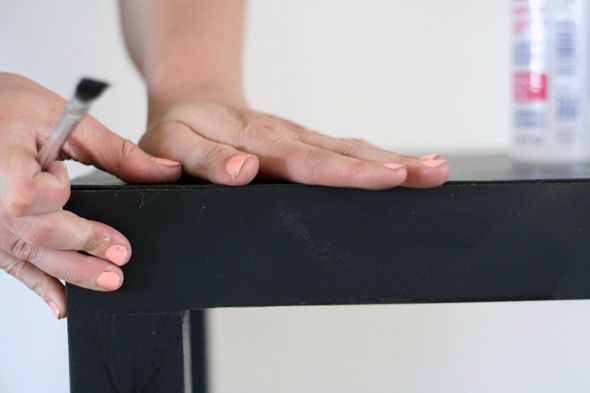
It helps to use a glue brush to make sure there's an even layer of glue and no too-thick parts that will show under the leather.
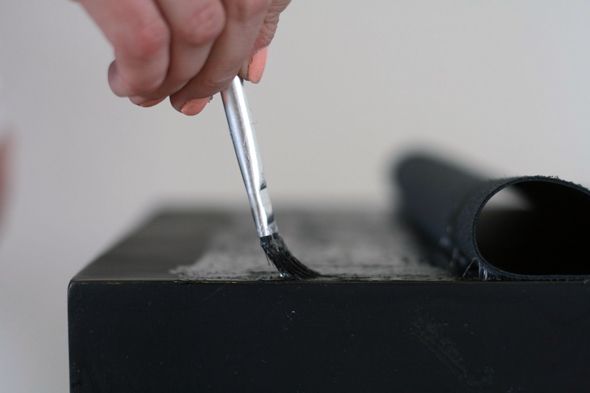
It's most important to get glue right at the edge of the leather, so the edges lay flat.
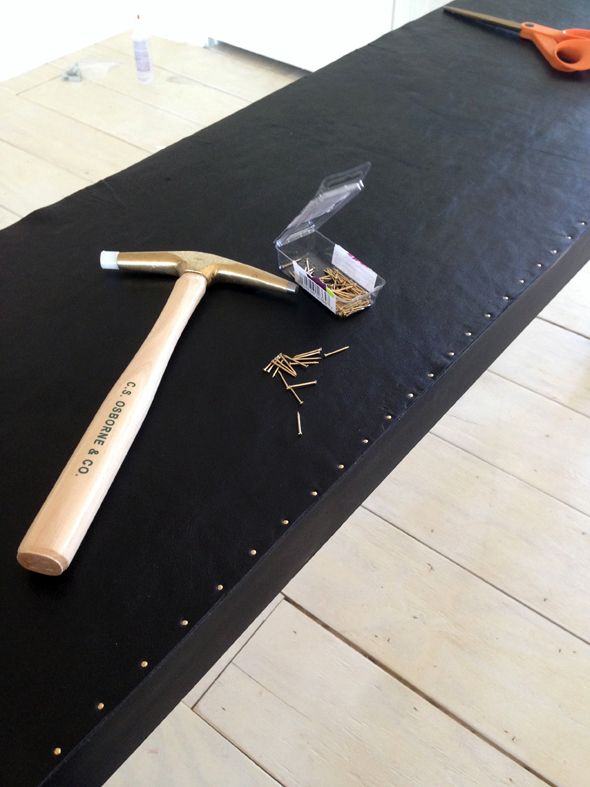
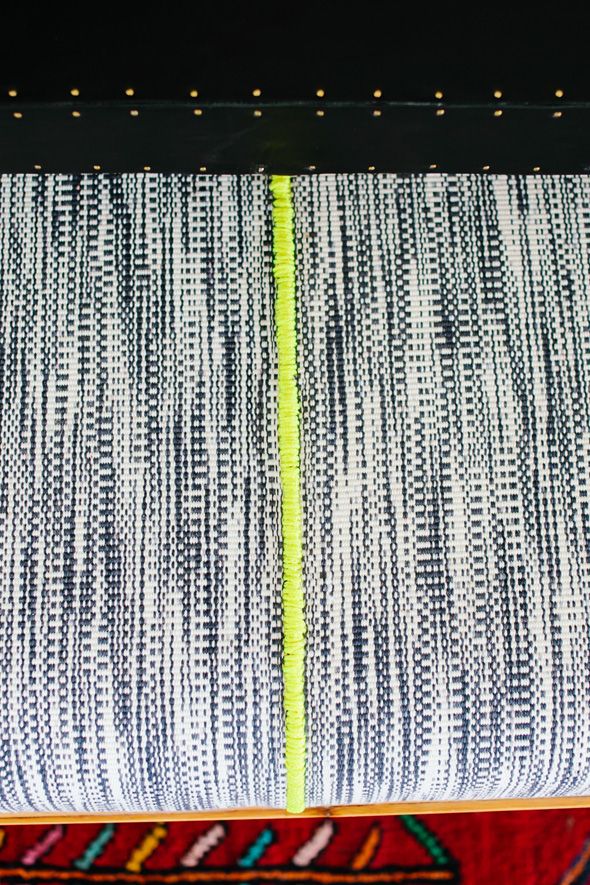
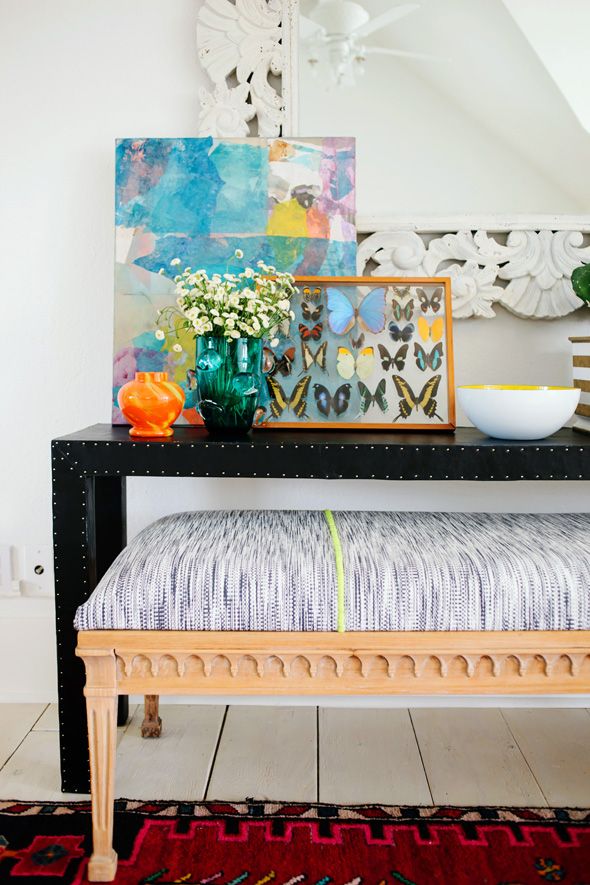
I used these small brass escutcheon brads as nail head trim. I wanted the brads to be more subtle than traditional nail heads and these worked great.
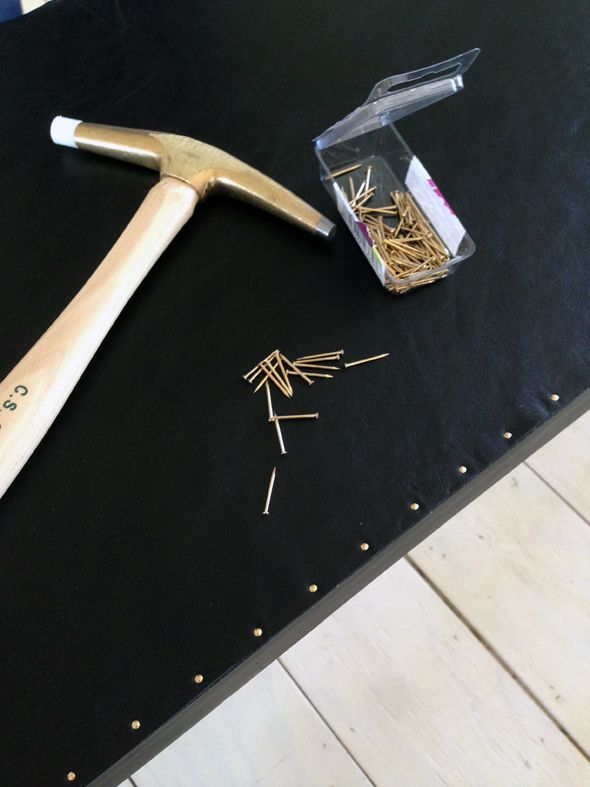
We marked out the first row, but it was pretty easy to eyeball the right spacing (about an inch) after I got in a rhythm.
After all the nails were in, I could see that some of the leather had pulled a little bit and the edges needed to be trimmed with an X-Acto knife, which was pretty easy to do. (see the JM here?)

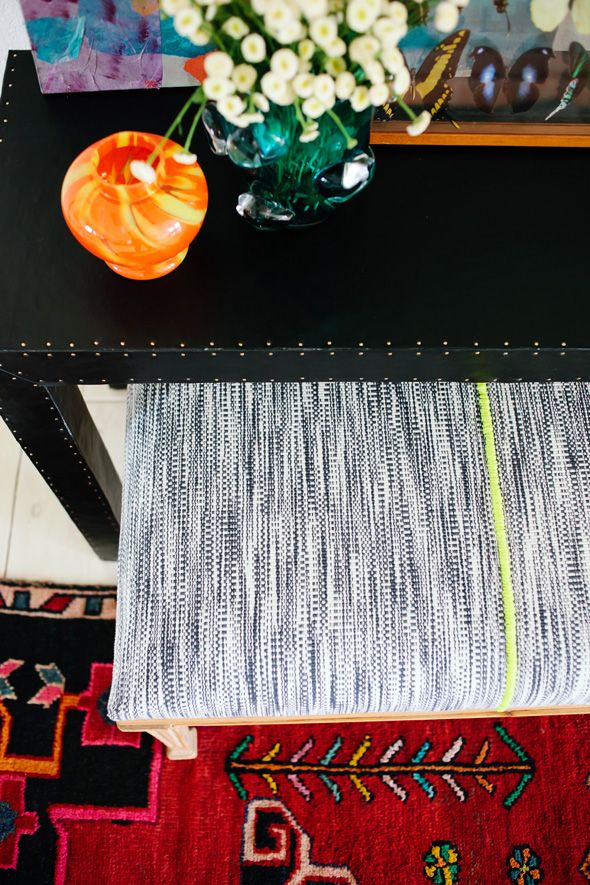
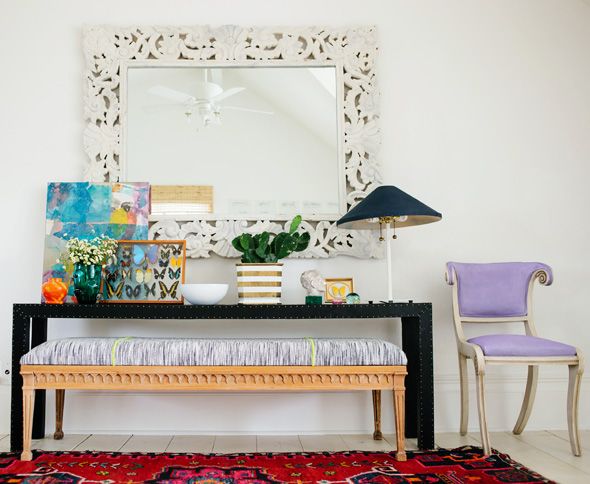
I LOVE how this one turned out. We were able to salvage a table that wouldn't have been otherwise usable with a big old saw mark right in the middle of it. The texture is so pretty and the little sparkle from the nails is just enough.
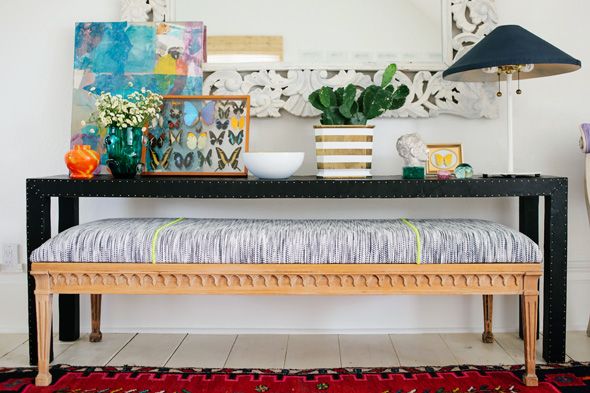
It's not perfectly perfect, but I think that makes it look unique and handmade.

Oh, and some of you recognized the old mirror we had hanging in the brownstone over the fireplace. I never loved the old finish and I've been itching to try milk paint for years and this seemed like the perfect application.
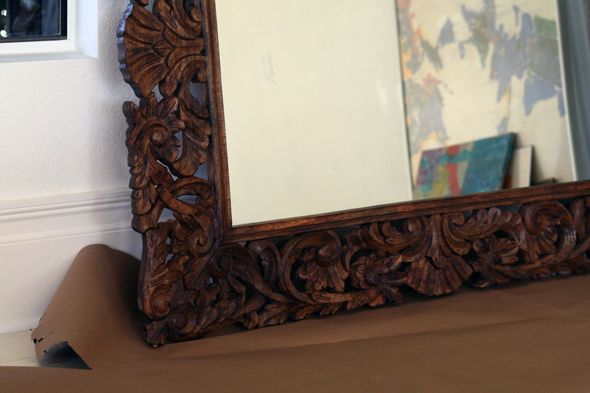
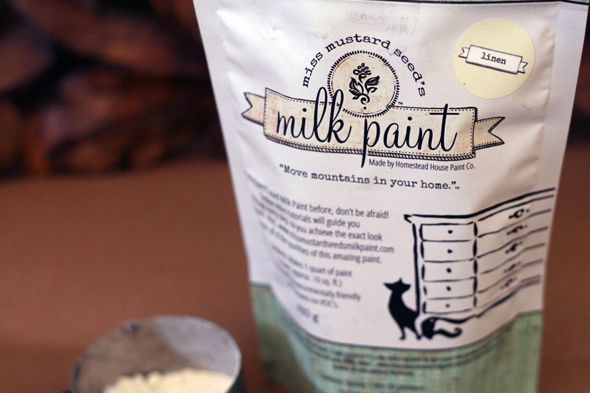
We picked up a bag of milk paint at a local antique store (Merchant Square) and added water to make the paint. I chose a creamy white color called Linen.
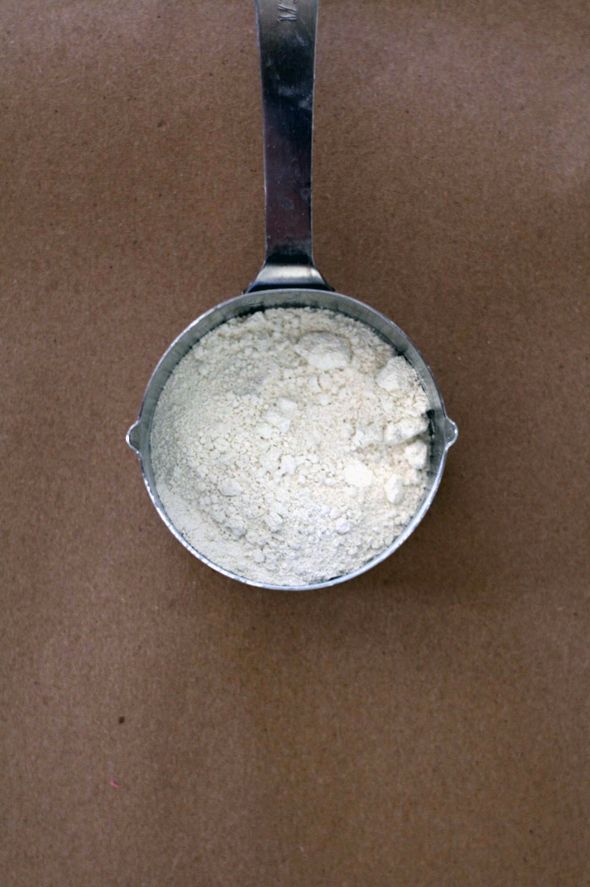
The paint is (not surprisingly) super watery, but it covers really well. The old finish on the mirror made the paint flake up a little, but I actually loved the effect. I didn't want the mirror to look newly painted anyway.

Sometimes I think it's easy to get nervous about painting something, but this mirror was not precious to me and I didn't love it as it was in the wood stain. There wasn't much to lose, and I feel like the risk totally paid off here. I love it now.
How was your weekend? We had a family reunion and it felt really great to switch gears for a couple of days! Also, it was amazing to catch up on a little sleep. :)
PS Pretty photos above were taken by Michelle Herrick.
PS Pretty photos above were taken by Michelle Herrick.